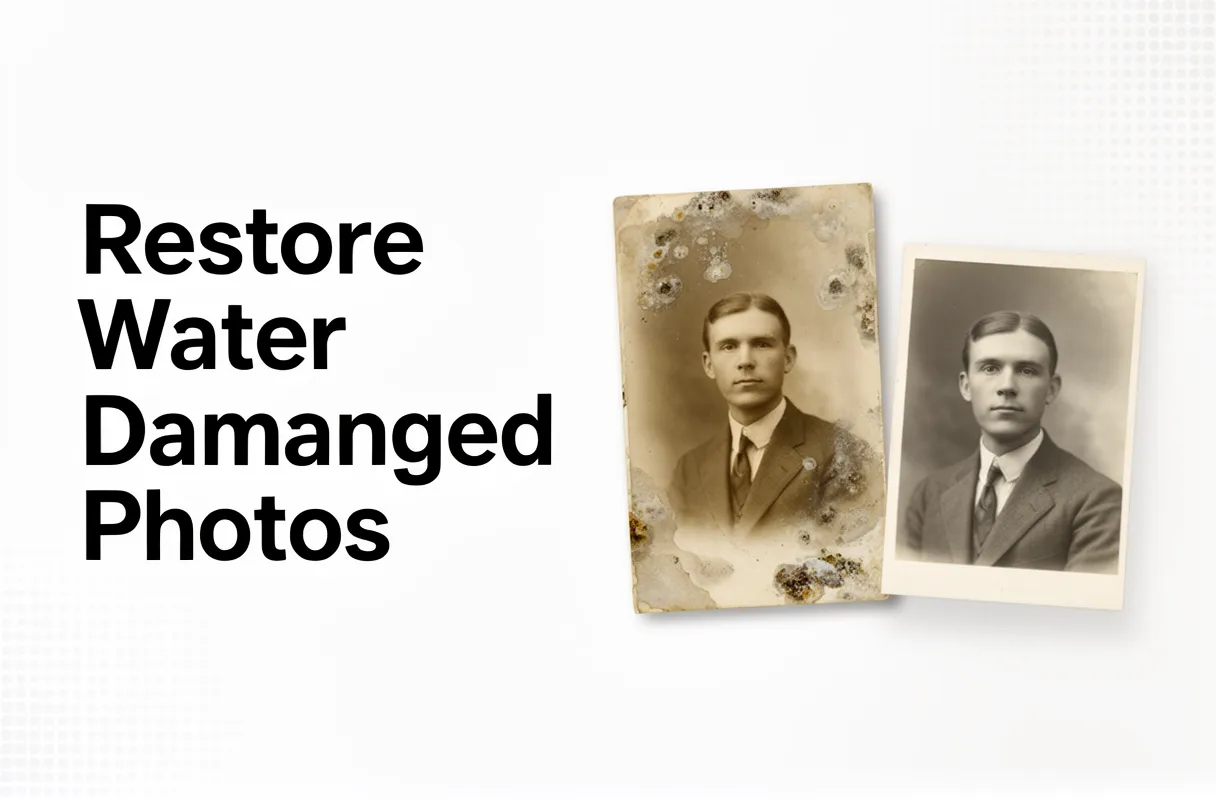
To restore water-damaged photos, you must first stabilize them immediately, then apply careful drying techniques, followed by gentle physical cleaning, and finally, leverage digital or AI-powered restoration tools. This comprehensive process can take several hours to days for initial steps and requires a moderate level of care and patience.
What You Need:
- Distilled water for rinsing.
- Clean, absorbent materials like blotter paper or lint-free towels.
- A flat, dry space with good air circulation.
- A high-resolution scanner and access to photo editing or AI restoration software.
Discovering your cherished photographs soaked can feel devastating. But don't despair; many water-damaged photos, especially those on more resilient modern papers, can absolutely be saved. Most believe the damage is permanent, but quick action combined with smart techniques makes a huge difference. This guide walks you through both hands-on physical fixes and the marvel of AI-powered digital restoration.
By the end of this guide, you will have the knowledge and steps to tackle water damaged photo restoration, transforming seemingly lost memories into cherished keepsakes ready for sharing and long-term preservation.
Emergency Measures: Saving Your Water-Damaged Photos Immediately
Your precious photos have just endured a water disaster. Don't panic; immediate action is your most powerful tool. Swift, decisive steps can salvage memories that would otherwise be lost forever. The goal now is stabilization and preventing irreversible damage.
Here’s how to begin:
- Assess the Damage: Quickly survey the extent of the water exposure. Is it just dampness, or complete submersion? Note any contaminants like mud or chemicals.
- Separate with Care: If photos are stuck together, DO NOT FORCE THEM APART. The gelatin layer on older photos becomes incredibly fragile when wet, like wet tissue paper. Forcing them will tear them. For modern resin-coated papers, separation might be easier but still requires caution.
- Quick Rinse (If Needed): For photos covered in mud or contaminants, a gentle rinse under cool, running water can prevent staining. Use distilled water if possible to avoid mineral deposits. Hold photos by their edges and let water flow over the emulsion side. This is a temporary measure; proper drying follows.
- Freeze Large Collections: If you have an overwhelming number of photos or albums, your best bet is to freeze them. Place batches in freezer bags (interleaving with wax paper if individual photos are stuck, but again, don't force). Freezing halts deterioration and buys you time for more methodical drying later.
Remember, old photographs' gelatin layers soften dramatically when wet, making them highly susceptible to sticking. Likewise, photos dried while still in contact are nearly impossible to separate without damage. Acting within the first hours dramatically increases your chances of successful restoration. Stabilizing the photos now, even if they remain wet, is paramount according to conservation guidelines.
Safe Drying Techniques: Preventing Further Damage & Mold
Once photos are stabilized, safe drying is your next urgent priority. This prevents permanent sticking and the dreaded spread of mold.
Photos should air dry, placed face up on absorbent material like clean paper towels or blotting paper. Change this material frequently as it absorbs moisture. Good air circulation is key; use a fan on a low setting, pointing away from the photos, to encourage gentle airflow. A dehumidifier can also create a drier environment, speeding up the process without applying heat.
Never use direct heat. Forget hairdryers, ovens, or placing photos in direct sunlight. These methods warp, melt, and further damage the delicate emulsion. Think of it like trying to dry delicate silk with a blast furnace – it just doesn't work and causes more harm.
Mold growth is a serious threat, thriving in damp conditions. Watch for fuzzy, discolored patches, often starting at the edges. If you spot minor surface mold on fully dry photos, a soft brush or a dry cotton swab can often remove it. For anything more significant, or if the mold is on still-damp photos, consult a professional conservator. Albums and mounted photos present unique challenges; their multiple layers trap moisture, requiring careful separation and support to prevent warping during drying.
The goal here is slow, gentle evaporation. This painstaking process maximizes your chances of salvaging your cherished images.
Physical Restoration: Tackling Stains, Wrinkles, and Mildew
Once your water-damaged photos are completely dry, physical restoration can begin. This stage addresses the visible damage like wrinkles, stains, and any minor mildew.
To flatten curled or wrinkled photos, try pressing them gently. Place the photo between two sheets of acid-free blotter paper and then inside a heavy book. Apply even pressure for several days, checking periodically. Avoid direct heat, which can cause further damage.
For surface stains or dirt, a dry, soft brush or a cotton swab lightly dampened with distilled water can work. Always test on an inconspicuous corner first. For minor surface mold on fully dry photos, a soft brush or a dry cotton swab can often remove it. For anything more significant, or if the mold is on still-damp photos, consult a professional conservator. Albums and mounted photos present unique challenges; their multiple layers trap moisture, requiring careful separation and support to prevent warping during drying.
The goal here is slow, gentle evaporation. This painstaking process maximizes your chances of salvaging your cherished images.
Severe damage, such as extensive mold, deep tears, or chemical stains that have penetrated the emulsion, may require professional attention. Conservators have specialized tools and knowledge to handle these delicate situations without causing further harm. You'll know it's time to call in an expert if home methods aren't effective or if you fear making the damage worse.
Digital Restoration & AI Tools: Breathing New Life into Damaged Images
Digital restoration takes over where physical methods end, using software to mend what the naked eye can still see are cracks and fades. You begin by scanning your damaged photos at the highest possible resolution, even if they appear nearly blank. This captures every pixel of detail, providing the raw material for digital repair.
Software like Adobe Photoshop or the free alternative GIMP lets you meticulously rebuild torn sections and erase water spots. You can adjust contrast to bring back faded colors and sharpen blurry details. Think of it like a digital surgeon, carefully stitching and smoothing.
But where AI truly shines is in automating these painstaking tasks. AI-powered tools can automatically detect and remove scratches, reduce image noise, and even enhance fine textures you thought were lost forever. They can intelligently colorize black-and-white images, breathing vibrant life into forgotten faces. Tools such as Bringback AI, MyHeritage Photo Enhancer or VanceAI excel at this, often delivering impressive results with minimal user input.
The hard truth is that while AI is powerful, it's not magic. For severely degraded images, especially those with significant emulsion loss or complex chemical damage, AI might struggle. It's best used as a potent assistant, augmenting your own careful edits rather than replacing them entirely for perfect results. You still need a discerning eye to guide the process.
Preventative Measures: Protecting Your Photos from Future Water Damage
Protecting your precious photos means safeguarding them from future threats, especially water. By implementing smart storage and backup strategies, you can keep your memories safe for generations to come.
Store Photos in a Secure, Climate-Controlled Environment
Proper storage is your first line of defense. Photos should live in acid-free boxes designed for archival purposes. These boxes prevent chemical reactions that can damage your prints over time. If possible, choose a climate-controlled storage unit or a dedicated space in your home that maintains a consistent temperature and humidity. Avoid basements, attics, or garages where temperature swings and moisture are common.
- Use archival sleeves or interleaving paper to prevent photos from sticking together.
- Keep storage boxes off the floor, ideally on shelves, to avoid direct contact with potential water sources.
- Position your storage away from pipes, windows, and exterior walls that might be prone to leaks or condensation.
Create Robust Digital Backups
A physical backup isn't enough. You need digital copies, too. Scan your photos at a high resolution, even if they appear fine. Store these digital files in at least two separate locations.
- Cloud Storage: Services like Google Drive, Dropbox, or specialized photo backup platforms offer off-site protection.
- External Hard Drives: Keep a physical backup in a different location from your primary computer.
Regularly check your digital backups to ensure they remain accessible and uncorrupted. This layered approach acts like having a spare tire and a roadside assistance plan for your memories.
Regularly Inspect Your Storage Areas
Don't just set and forget. Make it a habit to inspect your photo storage areas at least twice a year. Look for any signs of moisture, mold, mildew, or pest activity. Early detection allows you to address small issues before they become catastrophic floods for your photos. If you notice any dampness or unusual smells, act immediately to find and fix the source. This vigilance is a small price to pay for the long-term safety of your most cherished images.