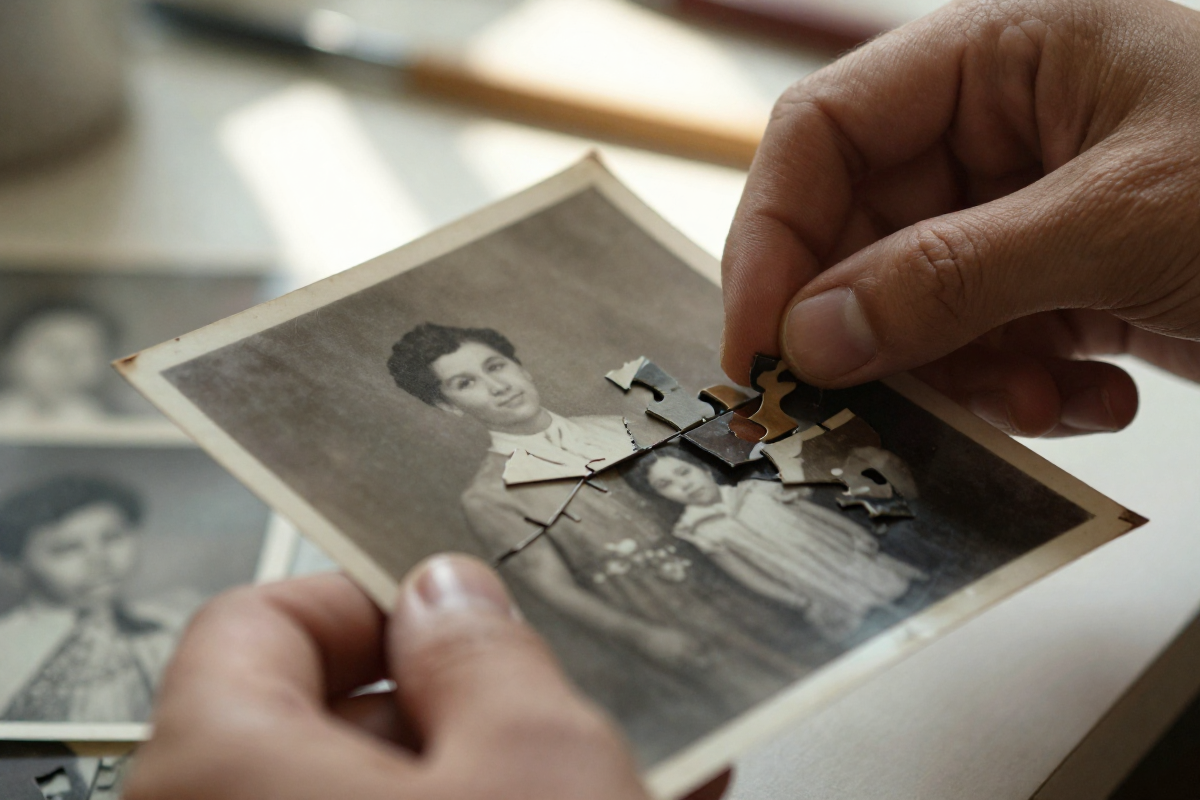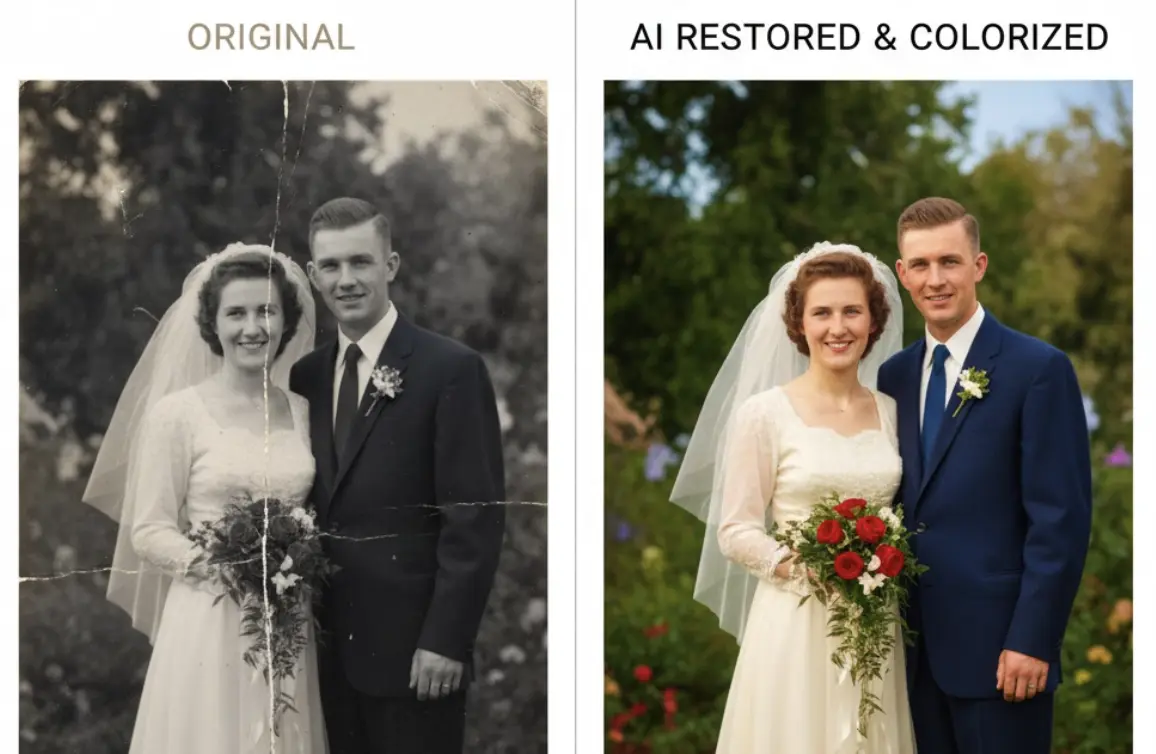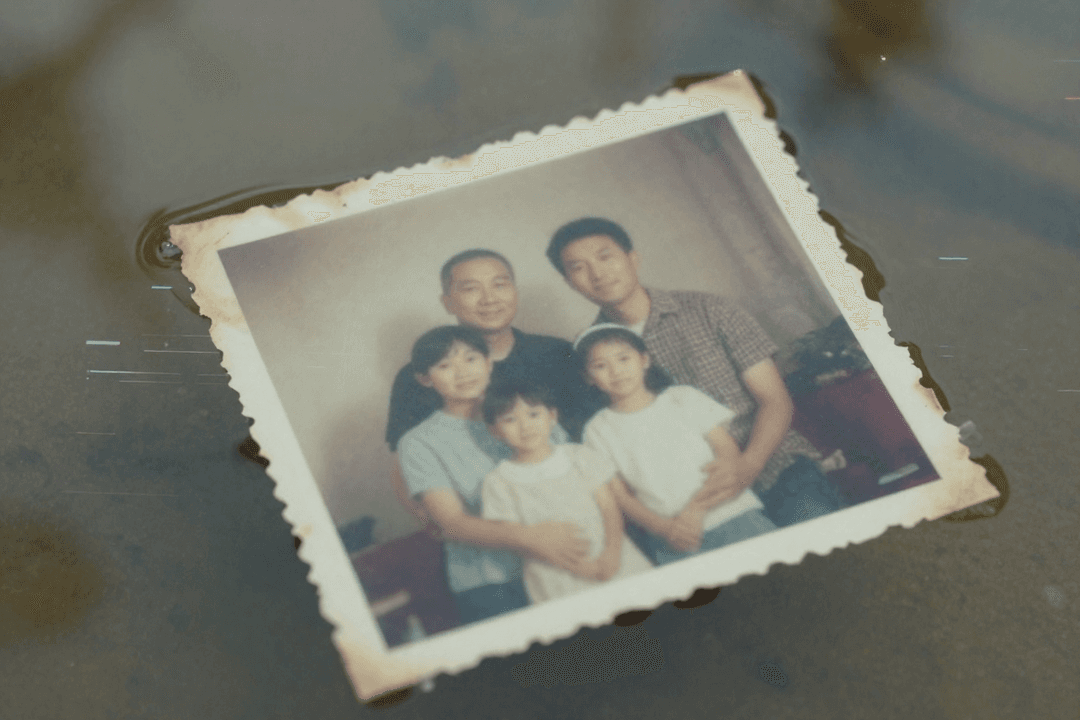
Restoring water-damaged photos manually means hours of intricate work and advanced software skills.
Thankfully, AI photo restoration tools have transformed this challenging task into a straightforward process. We’ll show you exactly how to revive your cherished memories, step-by-step.
How AI Solves Water Damage
AI offers a lifeline for photos that have seen better days. For most people, AI is superior to manual restoration because of its speed, ease of use, and consistent results.
Think of it as a skilled artist who never tires and doesn’t charge by the hour.
What can our AI fix?
- Scratches
- Fading
- Water spots
- Tears
BringBack uses constantly updated AI algorithms. This means we’re always improving our ability to tackle even the trickiest cases of photo damage, giving you better results, faster.
What You’ll Need Before You Start
Ready to begin? The list of essentials is short.
- Your original photo. This is where your memories live, whether it’s a physical print or a digital file.
- A scanner (if needed). A scanner turns your physical photo into a digital file the AI can work on. Most home scanners will do the trick.
- A computer or device with internet access. This is your command center for accessing BringBack and other photo restoration tools.
- An AI restoration tool. We recommend BringBack for its ease of use and powerful results, but there are other options out there.
And here’s an optional item:
- Photo editing software. Want to add a personal touch after the AI does its job? Software like Photoshop, Affinity, or Gimp can help.
Step 1: Prepare Physical Photos for Scanning
First, we need to get your physical photos ready for their digital revival. This is a delicate process, but it’s crucial for getting the best results.
- Handle with extreme care. Wet photos are incredibly fragile.
- Let them air dry. Lay photos flat on a clean, dry surface away from direct sunlight to prevent further damage.
- Consider a dehumidifier. In humid areas, a dehumidifier can speed up the drying process.
- Gently clean. Use a soft brush or microfiber cloth to carefully remove any loose dirt or debris. Be gentle!
- Flatten curled photos. Place the photos between two clean, flat surfaces with a little weight on top to make scanning easier.
Step 2: Scan Your Photo (Best Practices)
Now for the crucial step of scanning. Getting the best possible digital version is key for a great restoration.
Here’s how to get it right:
- Use a high DPI. Set your scanner to at least 300 DPI for photos. For negatives or slides, go even higher—600 DPI or more is ideal to capture maximum detail.
- Choose the right color depth. Scan in 24-bit color to retain accurate colors.
- Handle negatives and slides carefully. Use lint-free gloves to avoid fingerprints.
- Minimize glare. Adjust the photo’s position on the scanner bed and dim the room lights.
- Clean the scanner bed. A clean surface ensures a scan free of dust and smudges.
- Save as a high-quality format. We suggest using TIFF or PNG to avoid compression that can harm the image quality.
Why all the fuss? Simple: high resolution = more detail. The more detail you capture, the better BringBack can work during the restoration.
Step 3: Upload to Your AI Tool
It’s time to upload your scanned photo.
Here’s how to get your photos into BringBack:
- Choose the right file. We support common formats like JPEG, PNG, and TIFF.
- Mind the size limits. Make sure your file is within our specified size limit.
- Use a stable internet connection. A solid connection ensures a smooth upload.
- Drag and drop, or select file. Our tool lets you simply drag your photo into the upload area.
- Double-check before submitting. Ensure you’re uploading the correct file.
Don’t worry; BringBack makes this process simple. Once your photo is uploaded, the restoration begins.
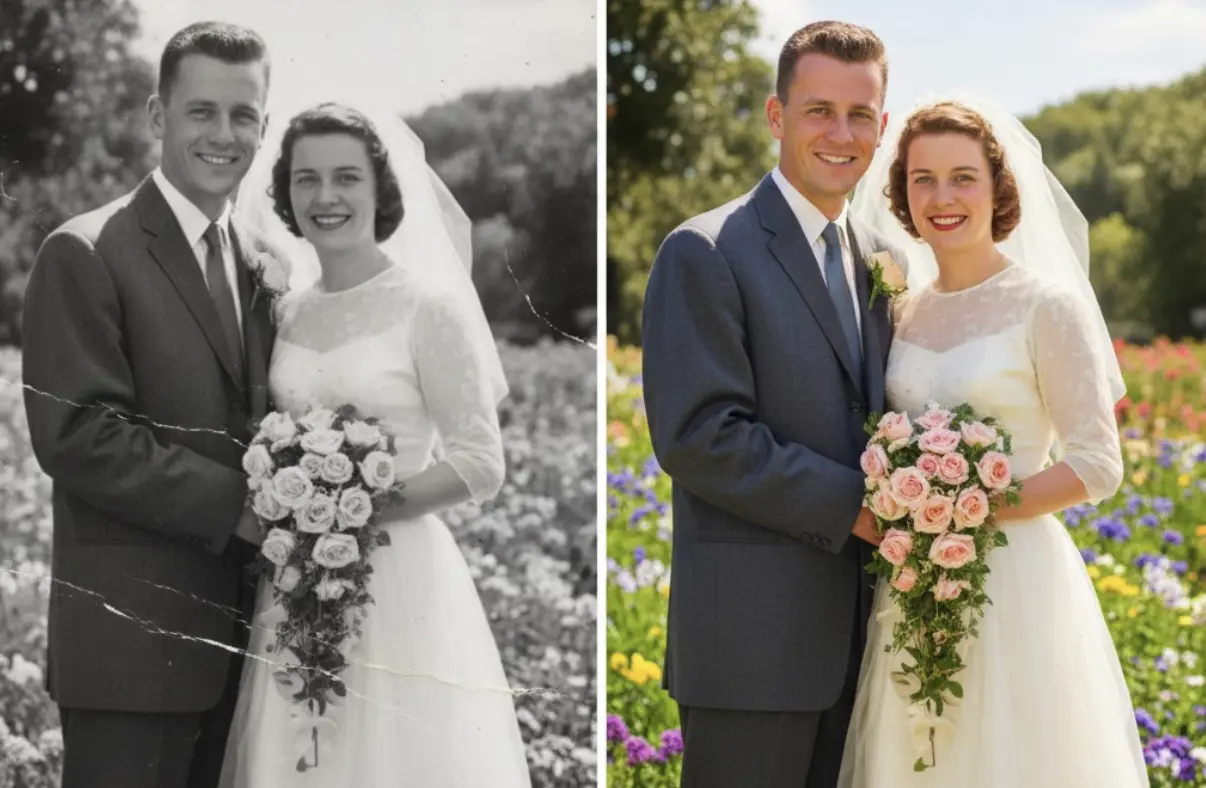
Step 4: The AI Restoration Process
During this stage, our advanced AI algorithms get to work on your water-damaged photo.
- Automatic photo restoration starts instantly.
- Scratches vanish.
- Color correction brings back vibrancy.
- BringBack AI accurately restores lost details.
AI processing typically takes just a few minutes, though the exact time depends on the photo’s size and complexity. We think you’ll be amazed at how your memories are reborn.
Step 5: Review and Refine the Result
Now, it’s time to review the results.
Take a close look at the restored image and compare it to the original.
Here’s what to look for:
- Sharpness
- Color accuracy
- Missing details
Does it capture the essence of the original? Often, BringBack gets it right the first time. But you might want to make a few tweaks.
Many AI tools, including ours, offer additional enhancements. For example, you can try:
- Face enhancement. Sharpening facial features can bring loved ones into clearer focus.
- Background reconstruction. Fill in missing details to fully restore the scene.
- Image sharpening. Fine-tune the clarity of the overall image.
Experiment with these options to achieve the best possible result. With BringBack, you have the power to make your memories shine.
Step 6: Download and Save Your Restored Photo
Let’s get that newly restored photo downloaded and safely saved.
- Download in high resolution. This ensures your photo looks great, even when printed.
- Choose the right format. JPEG is great for general use. PNG is better for archiving.
- Pick a descriptive name. Instead of “IMG_1234.jpg,” try “Grandma_at_beach_1968_restored.jpg.”
- Store it in a safe place. Consider cloud storage or an external hard drive.
You’ve brought your memories back to life. Now, make sure they’re safe for generations to come.
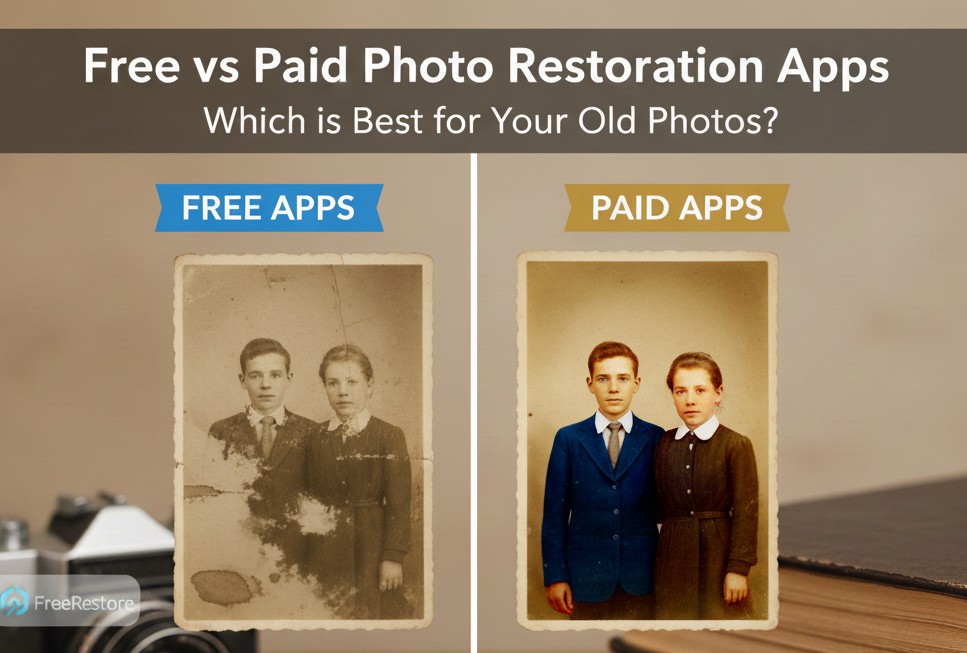
Choosing the Right AI Restoration Tool
How do you choose the best AI photo restoration tool for your needs?
Here’s a quick guide:
- Free vs. Paid: Free tools are great for basic fixes. Paid tools like BringBack offer more power and features.
- Ease of Use: Look for a simple, intuitive interface. We designed BringBack for everyone, even if you’re not tech-savvy.
- Features: Do you need color correction? Scratch removal? BringBack handles it all.
- Privacy Policies: Make sure your photos are safe. BringBack prioritizes your privacy.
BringBack offers a range of pricing options to fit every budget. Plus, we stand behind our work with a satisfaction guarantee. If you’re not happy, we’ll make it right.
When AI Isn’t Enough: Severely Damaged Photos
What happens when the damage is just too extensive? Sometimes, AI can’t do it all.
For severe cases, here are some alternatives:
- Manual photo restoration in advanced software like Photoshop, Affinity, or Gimp.
- Professional restoration services for the most complex issues.
Manual restoration is time-consuming and requires a skilled hand. For photos with extreme damage, professional experts offer skills that AI can’t yet match. Think of it as the final option for your most challenging memories.
Troubleshooting Common Restoration Issues
What do you do when the AI restoration process hits a snag? Let’s troubleshoot some common issues.
Correcting Over-Sharpened Faces
Sometimes, face enhancement can go too far and look unnatural.
- Reduce the enhancement level. A little goes a long way.
- Use the “soften” tool if available to smooth out harsh lines.
- Compare to the original to ensure the face still looks like the person you remember.
We find that subtle adjustments usually yield the best results.
Removing Unwanted Color Casts
Old photos often develop a yellow or red tint. BringBack usually corrects this automatically, but some color casts might persist.
- Use the color correction tool to adjust the red, green, and blue channels.
- Try the “auto balance” feature and let the AI find the optimal balance.
- Refer to a similar photo from the same era for color guidance.
Fixing Blurry or Unclear Results
What if the restored photo looks blurry?
- Increase sharpness slightly. Too much can create unwanted digital noise.
- Ensure the original scan is clear. A blurry scan will always produce a blurry restoration.
- Try a different AI model or setting if the tool offers them. Some are better at sharpening than others.
Dealing with Strange Artifacts or Distortions
Artifacts are unwanted glitches in the restored image.
- Reduce enhancement settings. Dial back the intensity of the AI; sometimes less is more.
- Manually correct them. Use photo editing software to gently remove or blend distortions.
- Start with a high-quality scan. A better source image gives the AI a better foundation to work with.
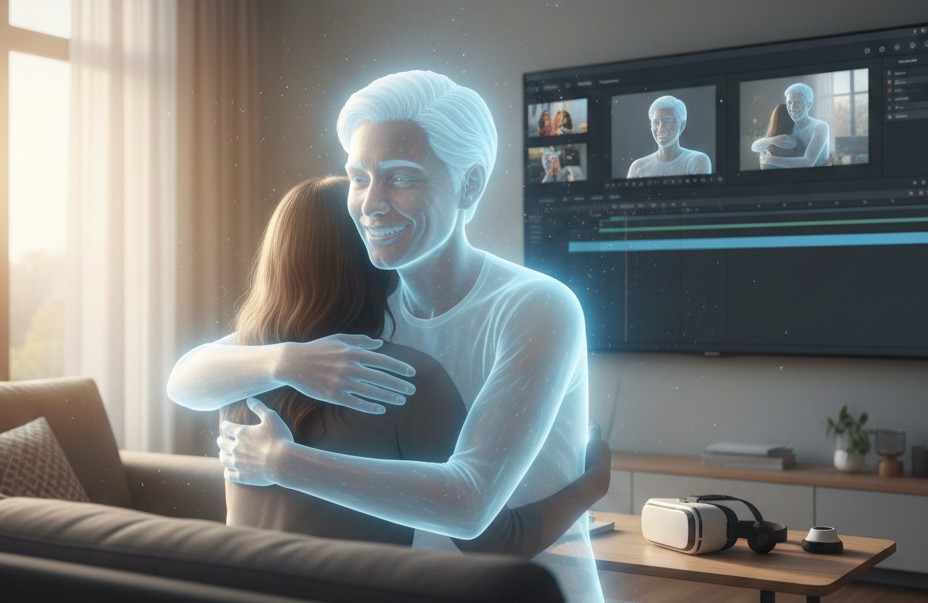
Beyond Restoration: Animate Your Memories
BringBack doesn’t just restore. We also animate your revived memories.
Our unique animation features add a new dimension to your family history:
- Nostalgic Hug makes photos feel alive with subtle movement.
- Live Portrait creates stunning, animated portraits from a single photo.
Imagine seeing your loved ones reborn in a lifelike animation. It’s a powerful way to reconnect with their stories.
Enjoy Your Restored Memories!
After all that work, it’s time to enjoy your restored memories.
What’s next?
- Share your photos with family and reconnect over the past.
- Preserve your family history so these memories last for generations.
- Try BringBack’s animation features to watch your photos come to life.
Photo preservation has never been easier. With BringBack, you can restore your family’s history and share it with the world.