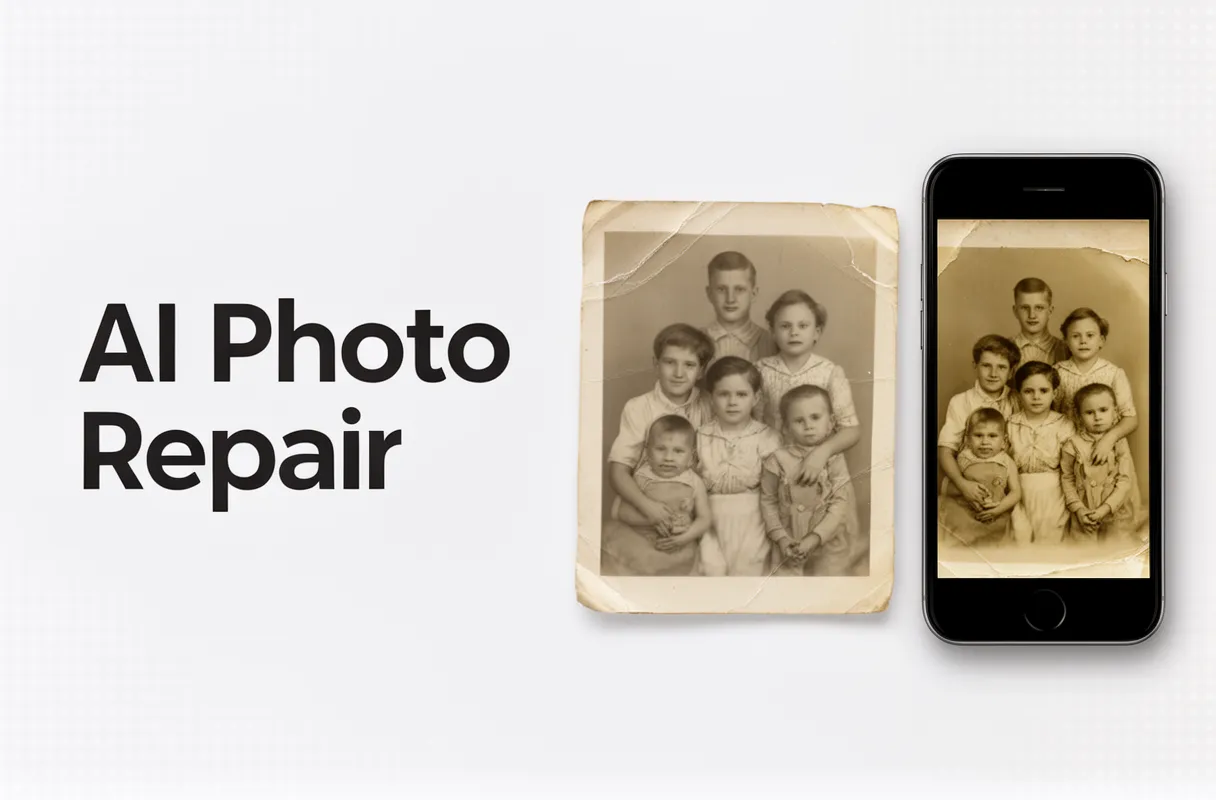
To restore a damaged family photo, you must meticulously scan the physical original and then apply an AI restoration tool. This entire process takes minutes for most photos and requires basic computer skills, transforming deeply ripped images into pristine digital keepsakes.
What You Need:
- A flatbed scanner for physical prints (600-1200 DPI).
- The damaged photo digitized at high resolution (keep a TIFF master for archiving, and upload a JPG, PNG or WebP copy up to 10 MB).
- Reliable internet connection.
- Credits or access to an AI photo restoration platform.
Staring at a torn family portrait can feel like losing a piece of your history. A deep crease or jagged rip across a loved one's face might seem irreparable, leading many to believe expensive, manual restoration is the only option. This guide shows how modern AI tools offer a powerful shortcut to ripped family photo repair without complex software or expert training.
By the end of this guide, you will have a pristine digital version of your cherished memory, completely free from folds, cracks, or tears. You will learn the exact steps to fix cracked family photo online and even how to repair folded paper photo with remarkable ease, ensuring your precious images are preserved for generations. This process even handles restoring torn face photo AI with surprising accuracy.
Preparing Ripped Family Photos for AI Restoration: Physical & Digital Steps
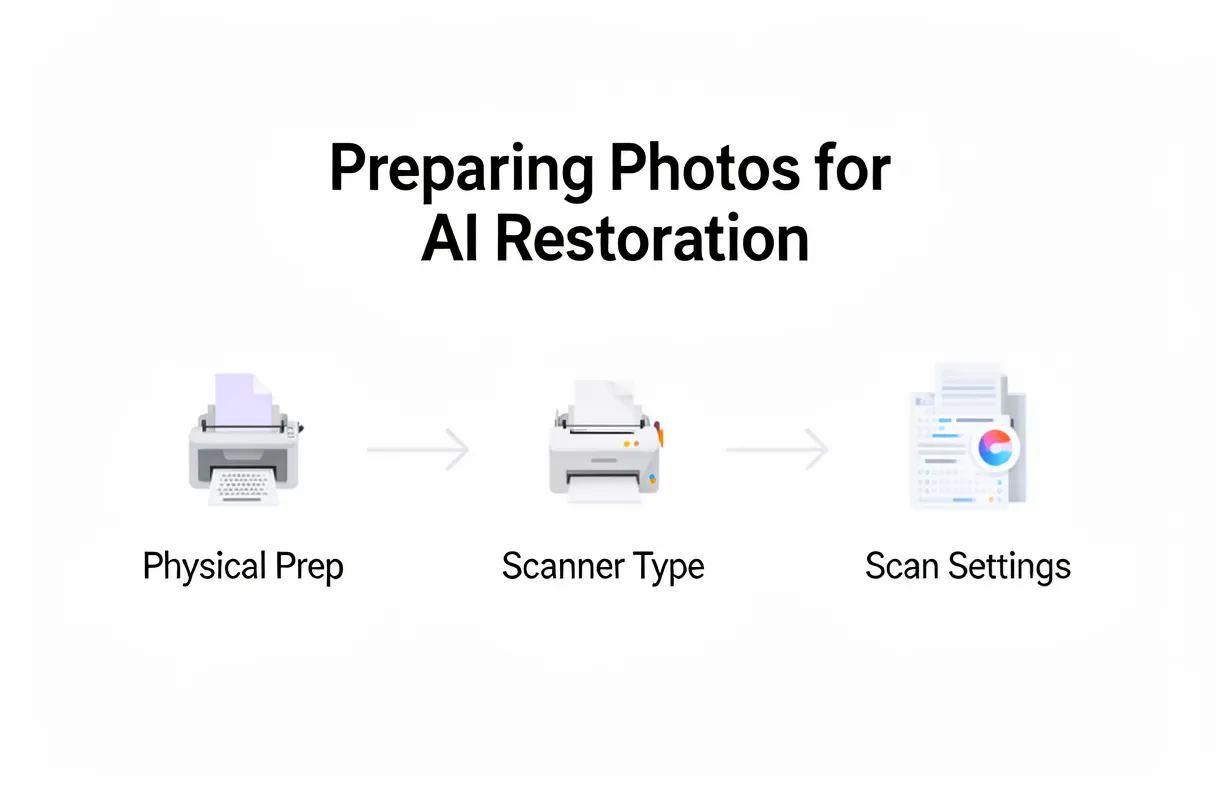
Preparing your ripped family photos for AI restoration requires careful physical handling and precise digital capture. Before any software touches your image, meticulous digitization is foundational for successful AI restoration.
Here’s how to get started:
- Gentle Cleaning: Use a very soft brush (like a makeup brush or a dedicated photo brush) to lightly sweep away dust and debris from the photo's surface. Avoid any liquids or harsh chemicals, as these can cause further damage. Compressed air can also work, but use short bursts from a distance.
- Flattening Creases: For deeply folded or creased photos, lay them flat on a clean, dry surface. Place a piece of acid-free paper over the photo. Then, carefully stack heavy, flat objects (like art books) on top. Allow the photo to press for several days, checking periodically.
- Temporary Alignment (Minimal): If pieces are completely separated, you can temporarily align them by placing them face-down on a clean surface and using tiny pieces of acid-free archival tape on the backside ONLY. Ensure the edges meet perfectly before taping. This is purely for scanning stability; remove it later.
- Scanner Choice: Always opt for a flatbed scanner over a sheetfed model. A flatbed provides even pressure and better control for delicate, torn, or uneven photos, preventing further damage.
- Optimal Scanner Settings:
- Resolution: Set your scanner to 600-1200 DPI (dots per inch) or higher. This captures the fine details and textures essential for AI to work with.
- File Format: Save your scan as an uncompressed TIFF or DNG file. These formats retain all original image data, unlike JPEGs which discard information to reduce file size. This is crucial for ripped family photo repair.
- Scanning Software: Use your scanner's default software, or consider professional options like Vuescan or Silverfast for more control over settings.
For a broader understanding of how AI handles various types of damage, including tears, you can explore how AI can fix tears, scratches, and water damage. This careful preparation ensures the AI has the best possible source material to work with, leading to a superior restoration of your treasured memories.
Pre-Scanning Best Practices for Damaged Photos
Gentle cleaning preserves details before you scan. Avoid abrasive materials. A soft, clean brush or a can of compressed air can remove surface dust and debris without causing further damage. For stubborn grime on sturdy photos, a slightly damp (not wet) lint-free cloth can be used with extreme care. Always work from the center outwards to prevent spreading dirt.
Deep creases or folded areas require patience for flattening folded photos. Place the photo between two pieces of acid-free archival paper and then under a stack of heavy books for several days. This gradual pressure helps the paper relax without cracking.
When repairing tears for scanning, use minimal and careful use of acid-free archival tape. Apply it only on the backside of the photo, ensuring the ripped edges are perfectly aligned first. This temporary fix holds the pieces together for scanning without damaging the image surface or leaving residue. This is a temporary measure for scanning, not a permanent repair.
Remember, the goal is to present the most complete image possible to the AI. Any additional damage introduced during the preparation phase will only make the restoration process harder and potentially less effective.
How to Restore Your Ripped Family Portrait with BringBack AI
To bring your ripped family portraits back to life with BringBack AI, the process is straightforward and designed to feel intuitive. You begin by uploading the digital version of your damaged photograph, whether it's a scan or an existing digital file. Our platform is built to handle a variety of image formats. Understanding typical platform constraints, for instance, Adobe Firefly supports file sizes up to 40MB and minimum dimensions of 512×512 pixels for processing.
Once uploaded, BringBack AI automatically analyzes the image, detecting and repairing common issues such as tears, scratches, fading colors, dust, stains, creases, and even pixelation or blur. Our advanced algorithms work to reconstruct missing details and smooth out imperfections, aiming for a natural, high-resolution output.
For a comprehensive guide on digital restoration techniques that can enhance your family reunion photos, consider exploring our detailed guide. BringBack AI prioritizes your privacy; your results stay in your account (My Media) until you delete them, and you can remove them at any time.
Finally, you simply download your restored, high-resolution photograph. The goal is to provide you with a revitalized piece of your history, simply and securely.
BringBack AI Pricing and Value for Family Photo Restoration
BringBack AI offers a straightforward pricing model focused on value, avoiding confusing subscriptions. You purchase credits for the services you need, ensuring you only pay for what you use.
Here's how BringBack AI's credit packages break down:
| Package Name | Credits | Cost | Value (Cost per Credit) |
|---|---|---|---|
| Restoration Starter | 4 | $4.99 | ~$1.25 |
| Value Pack | 20 | $9.99 | ~$0.50 |
| Family | 60 | $21.99 | ~$0.37 |
These credits never expire. This means you can buy them when you need them and use them at your own pace, preserving your memories without added pressure.
The number of credits required depends on the restoration task:
- Old Photo Restoration: 1 credit per photo
- Combining Photos: 2 credits to merge individual pictures into a single family portrait
- Photo to Video Animation: 10 credits for a dynamic video from a single image
- "Hug Video": 19 credits to create a heartwarming animated video featuring a family member's embrace.
This model contrasts sharply with some platforms. For instance, Canva offers a free plan with extensive templates and storage but limits access to premium features. Their Pro plan provides more storage and advanced "Magic" tools, often at a recurring monthly fee. BringBack AI bypasses this, focusing purely on the restoration and animation of your cherished family photos with a clear, one-time cost. You get immediate access to powerful AI tools without ongoing commitments.
Overcoming AI Limitations & Perfecting Your Family Portrait
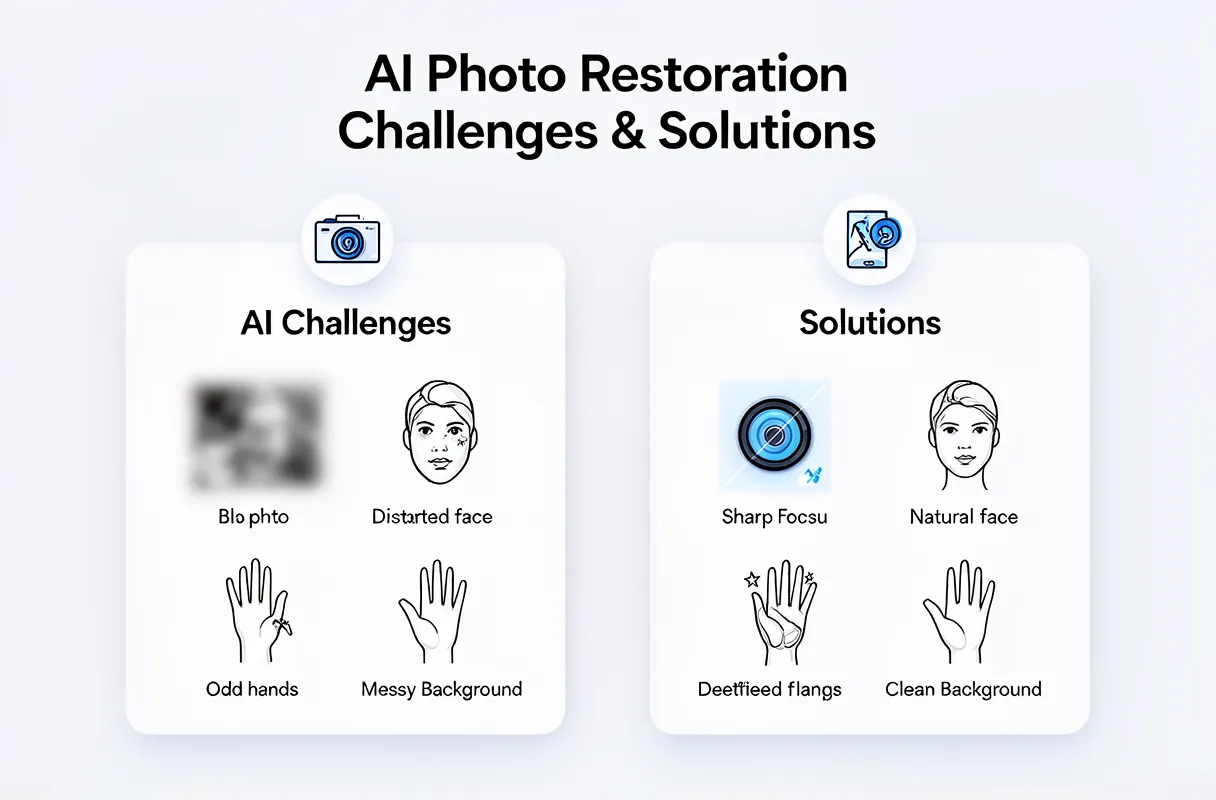
AI image restoration is powerful, but not foolproof. You might encounter issues like blurry outputs, unnatural facial features, or odd background details.
Common AI Image Challenges
- Blurry or Low Detail: The AI may not capture fine textures, leading to a softened or over-smoothed appearance. This is common when restoring torn face photo AI.
- Distorted Faces: Faces can appear asymmetrical, with misaligned eyes, odd proportions, or unnatural skin textures. This is a frequent hurdle when trying to fix distorted AI faces.
- Background Artifacts: AI can sometimes hallucinate or distort background elements, creating strange patterns or disconnected shapes.
- Unnatural Textures: Repaired areas might have a plastic-like sheen or an overly smooth, unrealistic look.
Improving AI Restoration Quality
You can significantly improve AI results by refining your input and reviewing the output carefully.
- Choose the Right Mode: In BringBack, pick restore-only to keep the original black-and-white or sepia tones, or restore + colorize if you want a full-color result.
- Compare Side by Side: Before you download, compare the restored result with your original, paying close attention to the eyes, mouth, and the area along the tear.
- Better Scan, Better Result: If the output looks soft or unclear, re-scan the photo at a higher resolution (600-1200 DPI) with even lighting and run the restoration again.
Tackling Distorted Faces
A few practical checks can help you catch and correct facial distortions.
- Zoom In on Faces: Check that the eyes, nose, and mouth look natural, symmetric, and true to the person you remember.
- Subject Specificity: For group portraits, crop a close-up portrait of the person whose face is torn and restore it separately to focus the AI's attention.
- Re-Run With a Better Scan: If a face still looks off, flatten the crease further, re-scan with better lighting, and restore again. Each new restoration uses 1 credit, so it pays to fix the scan first.
For quality and realism issues, a cleaner source scan and the right restoration mode usually matter more than anything else. This proactive approach, combined with a careful side-by-side review, helps improve AI photo quality significantly.
To see examples and further tips on restoring intricate details, especially for ancestral photos where facial authenticity is paramount, consult our guide on restoring ancestral photos.
By understanding these limitations and employing smart techniques, you can move beyond basic AI repairs to truly perfect your family portraits.
Manual Refinements: When to Step Beyond AI
AI photo restoration offers incredible speed, but some damage demands a human touch. You'll need to step beyond AI when dealing with complex photo tears, significant missing pieces, or when AI misinterprets existing damage.
AI excels at general improvements, but it can struggle with specific challenges. For instance, AI might incorrectly "fill in" a rip with smooth, unnatural textures, or create 'ghosting' where the original tear was. Fixing these issues requires precision that AI alone can't provide.
This is where manual editing tools come in. For fixing complex photo tears, consider these traditional post-AI refinements:
- Levels and Curves: These tools help correct color casts or mismatched tones that AI might miss, especially along the repaired edges of a tear.
- Contrast and Black/White Balance: Essential for bringing back punch and clarity to areas that have become dull or washed out.
- Color Balance: Crucial for restoring faded colors or neutralizing unwanted tints (e.g., yellowing from age).
- Clone Stamp and Healing Brush: Your best friends for localized damage. You can meticulously blend the repaired rip line, removing unnatural textures and ensuring a seamless transition with the surrounding photo detail.
Don't be afraid to use these tools. They allow you to maintain the authentic character of your old photos while ensuring every detail, especially faces, remains clear and natural. This AI vs manual photo restoration decision hinges on the damage severity and your desire for absolute perfection.
Long-Term Preservation for Your Restored Memories
Once your cherished memories are brought back to life, the next critical step is long-term preservation. Simply saving the restored file isn't enough to guarantee its survival. You need a proactive strategy to protect these digital heirlooms.
Always save your restored photo with a new file name and in the highest available resolution. Opt for uncompressed formats like TIFF (.tif) whenever possible. This ensures that any future re-editing or sharing retains the maximum possible image quality, preventing the degradation that often happens with formats like JPEG.
Implementing a robust digital photo backup strategy is non-negotiable. This means employing the "3-2-1 rule": at least three copies of your data, stored on two different types of media, with one copy offsite.
- Cloud Storage: Services like Google Drive, Dropbox, or dedicated photo archiving platforms offer accessible, offsite backups.
- External Hard Drives: Keep at least one physical backup disconnected from your computer to protect against power surges or malware.
- NAS (Network Attached Storage): For larger collections, a NAS can act as a central, local backup hub.
Periodically check the integrity of your backup files. Digital data can become corrupted over time. Regularly verifying your archives ensures that when you need them, your restored photos are still perfectly intact and ready to be shared for generations to come.