To add your deceased father to a wedding photo online, you must select high-quality source images and use an AI photo integration tool. This process takes 30-60 minutes and requires moderate digital familiarity.
What You Need:
- A compatible device (computer, tablet, or smartphone).
- Reliable internet access.
- The original wedding photo (base image).
- High-resolution photos of your deceased father.
- Access to a chosen AI photo integration service.
- Input images typically in PNG or JPG format, usually under 10MB each.
The desire to include a lost loved one in life's biggest moments is profound. For a wedding, this is especially true. You want these additions to feel truly authentic, not just a digital paste-on. Wedding photos are the #1 use case for adding deceased loved ones to images, by far.
Getting this right means blending more than just pixels; it blends cherished memories. It balances technical integration with deep emotional accuracy.
By the end of this guide, you will have a cherished, natural-looking memorial photo, ready for a lasting tribute to your father's presence on your special day.
Prerequisites for Adding Your Deceased Father to a Wedding Photo Online
Before you even think about adding your deceased father to a wedding photo online, you need a few things in place. Think of it like gathering your best ingredients before baking a cake. Getting these basics right ensures the final result feels natural and respectful.
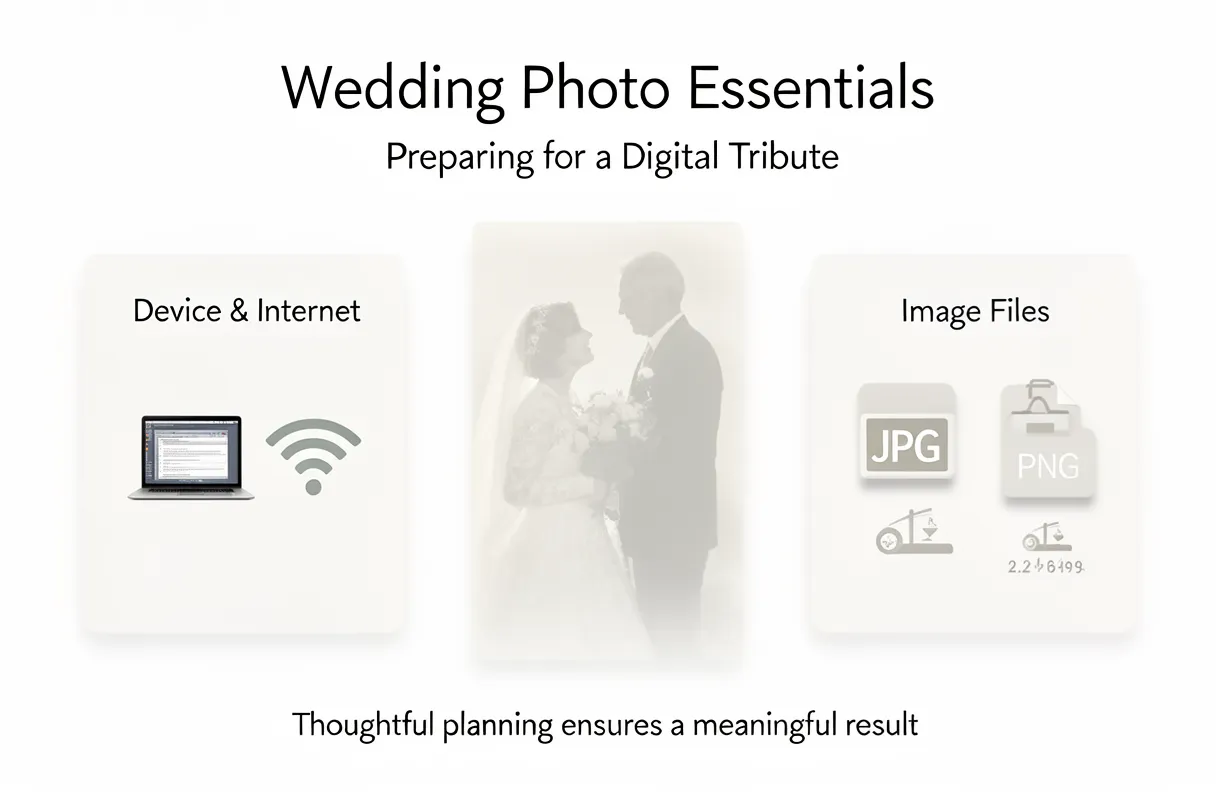
You'll need a stable internet connection and a device capable of uploading files. This could be a laptop, desktop, or even a modern tablet. More importantly, you'll need the right digital files. Most services for wedding photo editing deceased parent require images in common formats like JPG or PNG.
These platforms often have file size limits, typically around 10MB per image. Make sure your photos aren't excessively large, or you might need to resize them first. Planning ahead here prevents frustrating technical glitches later.
Here's what you should have ready:
- Your Wedding Photo: The main image you want to edit.
- A Photo of Your Father: A clear, well-lit picture of him.
- Internet Access: A reliable connection for uploading.
- Compatible Device: A computer, tablet, or smartphone.
- Supported File Formats: Ensure your photos are JPG or PNG.
- Reasonable File Sizes: Keep individual files under 10MB.
Having these prerequisites sorted out makes the process of adding a deceased father to a wedding photo online much smoother. It respects the sensitivity of the task.
Selecting Optimal Source Photos for Natural Integration
Choosing the right photos is key to a natural-looking integration. Think of it like finding two puzzle pieces that fit perfectly.
When selecting your wedding photo, look for one with good resolution and clear focus. The lighting should be as even as possible across the scene. Avoid images where subjects are heavily backlit or where shadows obscure important details. The clearer the original wedding photo, the easier it is for AI to blend seamlessly.
For your father's photo, prioritize a well-lit, in-focus image where his face is clearly visible. A picture with a neutral or unbusy background helps prevent distractions in the final composite. Consider his attire: if he's wearing a suit or formal wear in his photo, it will blend more easily with wedding attire.
Here’s what to look for in an optimal source photo:
- High Resolution: Ensures detail isn't lost.
- Sharp Focus: Especially on faces.
- Even Lighting: Matches the wedding photo's light source.
- Consistent Tone: Avoid extreme color casts.
- Compatible Pose: A head-and-shoulders shot or a ¾ view works well.
- Respectful Placement: Think about where he would naturally stand or sit, often near the couple.
You want to aim for photos that minimize the differences AI needs to bridge. A well-chosen father photo makes the final composite feel genuine and respectful, not like a quick edit.
And because a good starting point is so critical, remember that the quality of your source images directly impacts the realism of the final result. A slight blur or inconsistent lighting in either photo means more work for the AI, and potentially a less convincing outcome.
How to Digitally Add Your Father to a Wedding Photo with BringBack AI
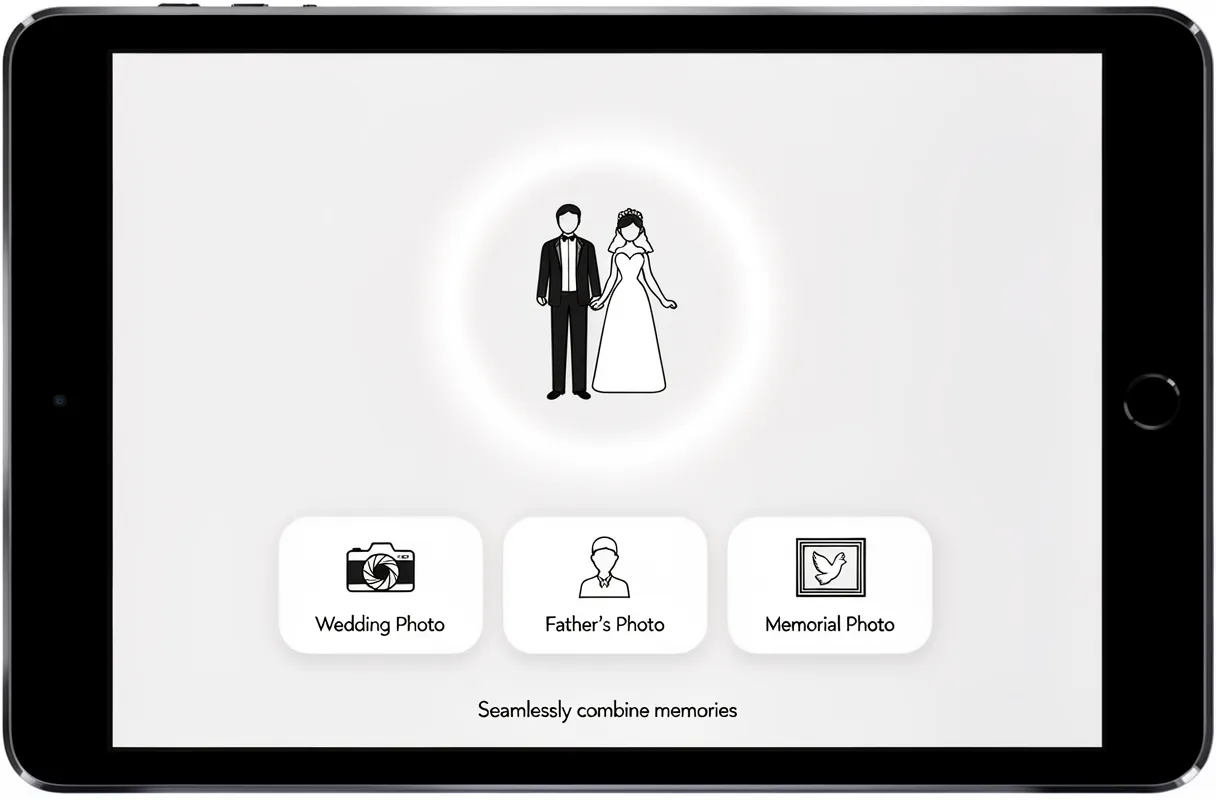
Adding your father to a wedding photo digitally is a deeply personal process. BringBack AI simplifies this, ensuring your memorial photo feels natural and respectful. Our platform is built to handle the nuances of merging images, making the combine photos of dead parent wedding experience straightforward.
Here’s how our tool helps you achieve a seamless integration:
- Upload Your Images: Start by uploading your main wedding photo. Then, upload the chosen photo of your father from your prerequisites.
- AI Processing: Our AI automatically analyzes both images. It reconciles differences in lighting, shadows, and proportions, working to blend your father’s image into the wedding scene.
- Review and Download: You'll receive a high-resolution memorial photo ready for sharing or printing. This specific feature for memorial photos is a core part of our dedicated tool for adding deceased loved ones to photos.
BringBack AI is designed to handle the complexities of merging photos of a deceased parent into wedding pictures, aiming for an outcome that honors your memory.
Ensuring Realism, Resolving Issues, and Ethical Use
When you're aiming to integrate a beloved father's image into wedding photos, the goal is emotional authenticity, not just technical perfection. You need to evaluate the AI's output carefully to ensure it feels real and respectful.
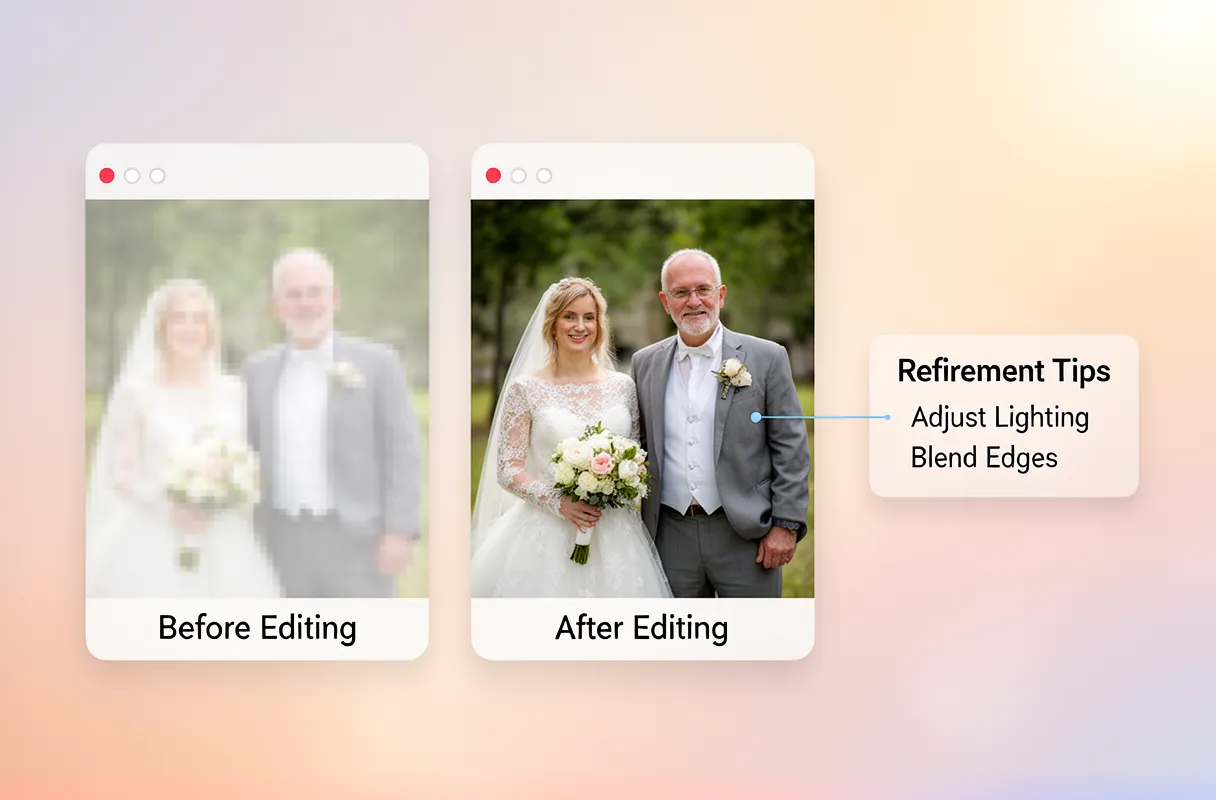
Look for tell-tale signs that break the illusion. Distorted facial features, an unnatural blend between the original photo and the added image, or a noticeable mismatch in scale are all common AI photo errors. Lighting that clashes or shadows that fall incorrectly can also make the composite look jarring.
If you encounter issues, don't despair. The best AI tools allow for refinement.
Here's how to tackle common problems:
- Distorted Features: Re-uploading the original photos, perhaps with slight adjustments to cropping or focus, can sometimes help the AI reinterpret them.
- Unnatural Blending: Look for tools that offer manual adjustment sliders for opacity or edge feathering if available. Sometimes, a slight blur or blend can make the integration more subtle.
- Mismatched Scale or Lighting: This often points to a mismatch in the source images. While AI tries to reconcile these, very significant differences can be challenging. You might need to find better source photos or consider professional touch-ups for perfect alignment.
Ethical use is paramount. You're creating a cherished memorial, so always prioritize respect and dignity. Reputable AI services understand the sensitive nature of this work. They assure users that uploaded photos are not used to train their AI models. This commitment to user privacy safeguards your precious memories. Always choose tools that are transparent about their data handling practices.
Evaluating AI-Generated Results and Troubleshooting Common Errors
You’ve generated your AI memorial photo. Now, you need to make sure it looks right. The goal is naturalness and realism. Look closely at how the AI blended the images. Are the skin tones consistent? Does the lighting on the added person match the original scene? A good result feels like the person was actually there.
Many AI photo tools, like those that assist with adding a deceased loved one to a photo, excel at reconciling differences in lighting, shadows, and proportions automatically. However, occasional hiccups can occur.
Callout: Common AI Photo Errors & Fixes
- Distorted Features: Faces might look slightly stretched or squashed. Try generating again with slightly different source photos or adjusting AI parameters if available.
- Unnatural Blending: Edges where the new person meets the original photo might look "pasted on." Look for tools that offer masking or blending refinement.
- Mismatched Scale: The added person might appear too large or too small for the scene. This often requires manual adjustment in more advanced editing software if the AI can't auto-correct.
- Lighting Discrepancies: Shadows and highlights may not align. Ensure your source photos have similar lighting conditions.
You might need to experiment with different prompts or source photos to get a truly seamless integration. Exploring the complexities of successful AI photo integration can be helpful; check out resources that explain these complexities.
Evaluating the emotional accuracy of the final portrait is key. Does it capture the essence of your loved one? This is where human judgment is irreplaceable. If the AI output still feels off, don’t hesitate to refine it. Understanding how to refine AI photo results is part of the process.
Respect for the memory is paramount. Ensure your chosen tool prioritizes user privacy and data security. This means the AI won't use your uploaded photos for training. Always opt for services that are upfront about their data handling.
DIY AI Tools vs. Professional Editing Services: Weighing Your Options
When you need to restore or enhance old photographs, the path forward often involves a choice: do it yourself with AI tools, or hire a professional. Each option presents a distinct set of trade-offs.
DIY AI photo editing tools offer immediate access and lower upfront costs. Apps like YouCam Perfect or online services such as Lovedonephoto.com can be tempting for their accessibility. Many provide a free preview or a single free generation, letting you test the waters before committing to payment. These tools are great for straightforward fixes and allow you to explore capabilities like integrating individuals into existing photographs. However, the quality can vary, and free versions often come with limitations or watermarks. Getting a truly natural look might still require significant tinkering, and the results can sometimes feel artificial.
Professional editing services, on the other hand, promise a higher caliber of work. Companies like Pixels Photo Art employ skilled digital artists who can meticulously restore and enhance images. This route ensures a bespoke, emotionally accurate final portrait, where every detail is considered. The downside is the professional photo restoration cost, which can be substantial, ranging from hundreds to thousands of dollars depending on the complexity and desired outcome. It’s an investment in preserving a cherished memory with the utmost authenticity.
Many services now bridge this gap. Some AI photo integration services combine advanced neural networks with a final hand-review by digital artists. This blend aims for optimal realism and emotional accuracy, offering a middle ground between pure DIY and full professional service.
Here's a quick look at how different options stack up:
| Feature/Service | DIY AI Tools (e.g., YouCam Perfect) | Professional Services (e.g., Pixels Photo Art) | Specialized AI (e.g., BringBack AI) |
|---|---|---|---|
| Cost | Low (free to ~$10/month) | High ($100 – $1000+) | Moderate ($4.99 – $21.99) |
| Effort Required | High (learning curve, trial-and-error) | Low (briefing process) | Low to Moderate (user input, preview) |
| Skill Level | Beginner to Intermediate | Professional Artist Skillset required | User-friendly interface |
| Output Quality | Variable, can be limited | Excellent, bespoke | Very Good to Excellent |
| Free Trial/Preview | Common | Rare | No free trial; 30-day refund guarantee |
| BringBack AI Pricing | N/A | N/A | Restoration Starter: $4.99 (4 credits) Value Pack: $9.99 (20 credits) Family Pack: $21.99 (60 credits) |
For those seeking detailed guidance on utilizing free photo editing apps for deceased loved ones, a thorough resource can be found on applying free editing tools. Ultimately, your choice hinges on your budget, the importance of intricate detail, and how much hands-on control you wish to retain over the process.
Final Steps and Preserving Your Cherished Memory
Before you save your completed memorial photo, download it in a high-resolution format suitable for printing. Common options include JPEG for general use or TIFF for maximum quality if professional printing is planned. This ensures the final print retains the detail and emotional nuance you worked to achieve.
Consider where you'll print merged wedding photo or family portraits. Photo labs offer varying paper types and finishes. A matte finish can reduce glare, while a glossy finish might make colors pop. Think about the lighting in the space where the photo will hang.
Proper storage is key to preserve family memories. Keep prints away from direct sunlight and high humidity. Archival sleeves or albums provide excellent protection against fading and physical damage. Digital backups on multiple secure cloud services are also wise.
You can then share the download memorial photo respectfully with family and friends. If you're looking to do more, explore options for animating old photographs or further restoration. Our platform, BringBack AI, can bring these cherished images to life in new ways, honoring your loved ones with deeper immersion.